

How to Design Event Tickets: Quick Guide to Professional, Secure Tickets
 Written byAshish ChandraLast updatedAugust 20, 2026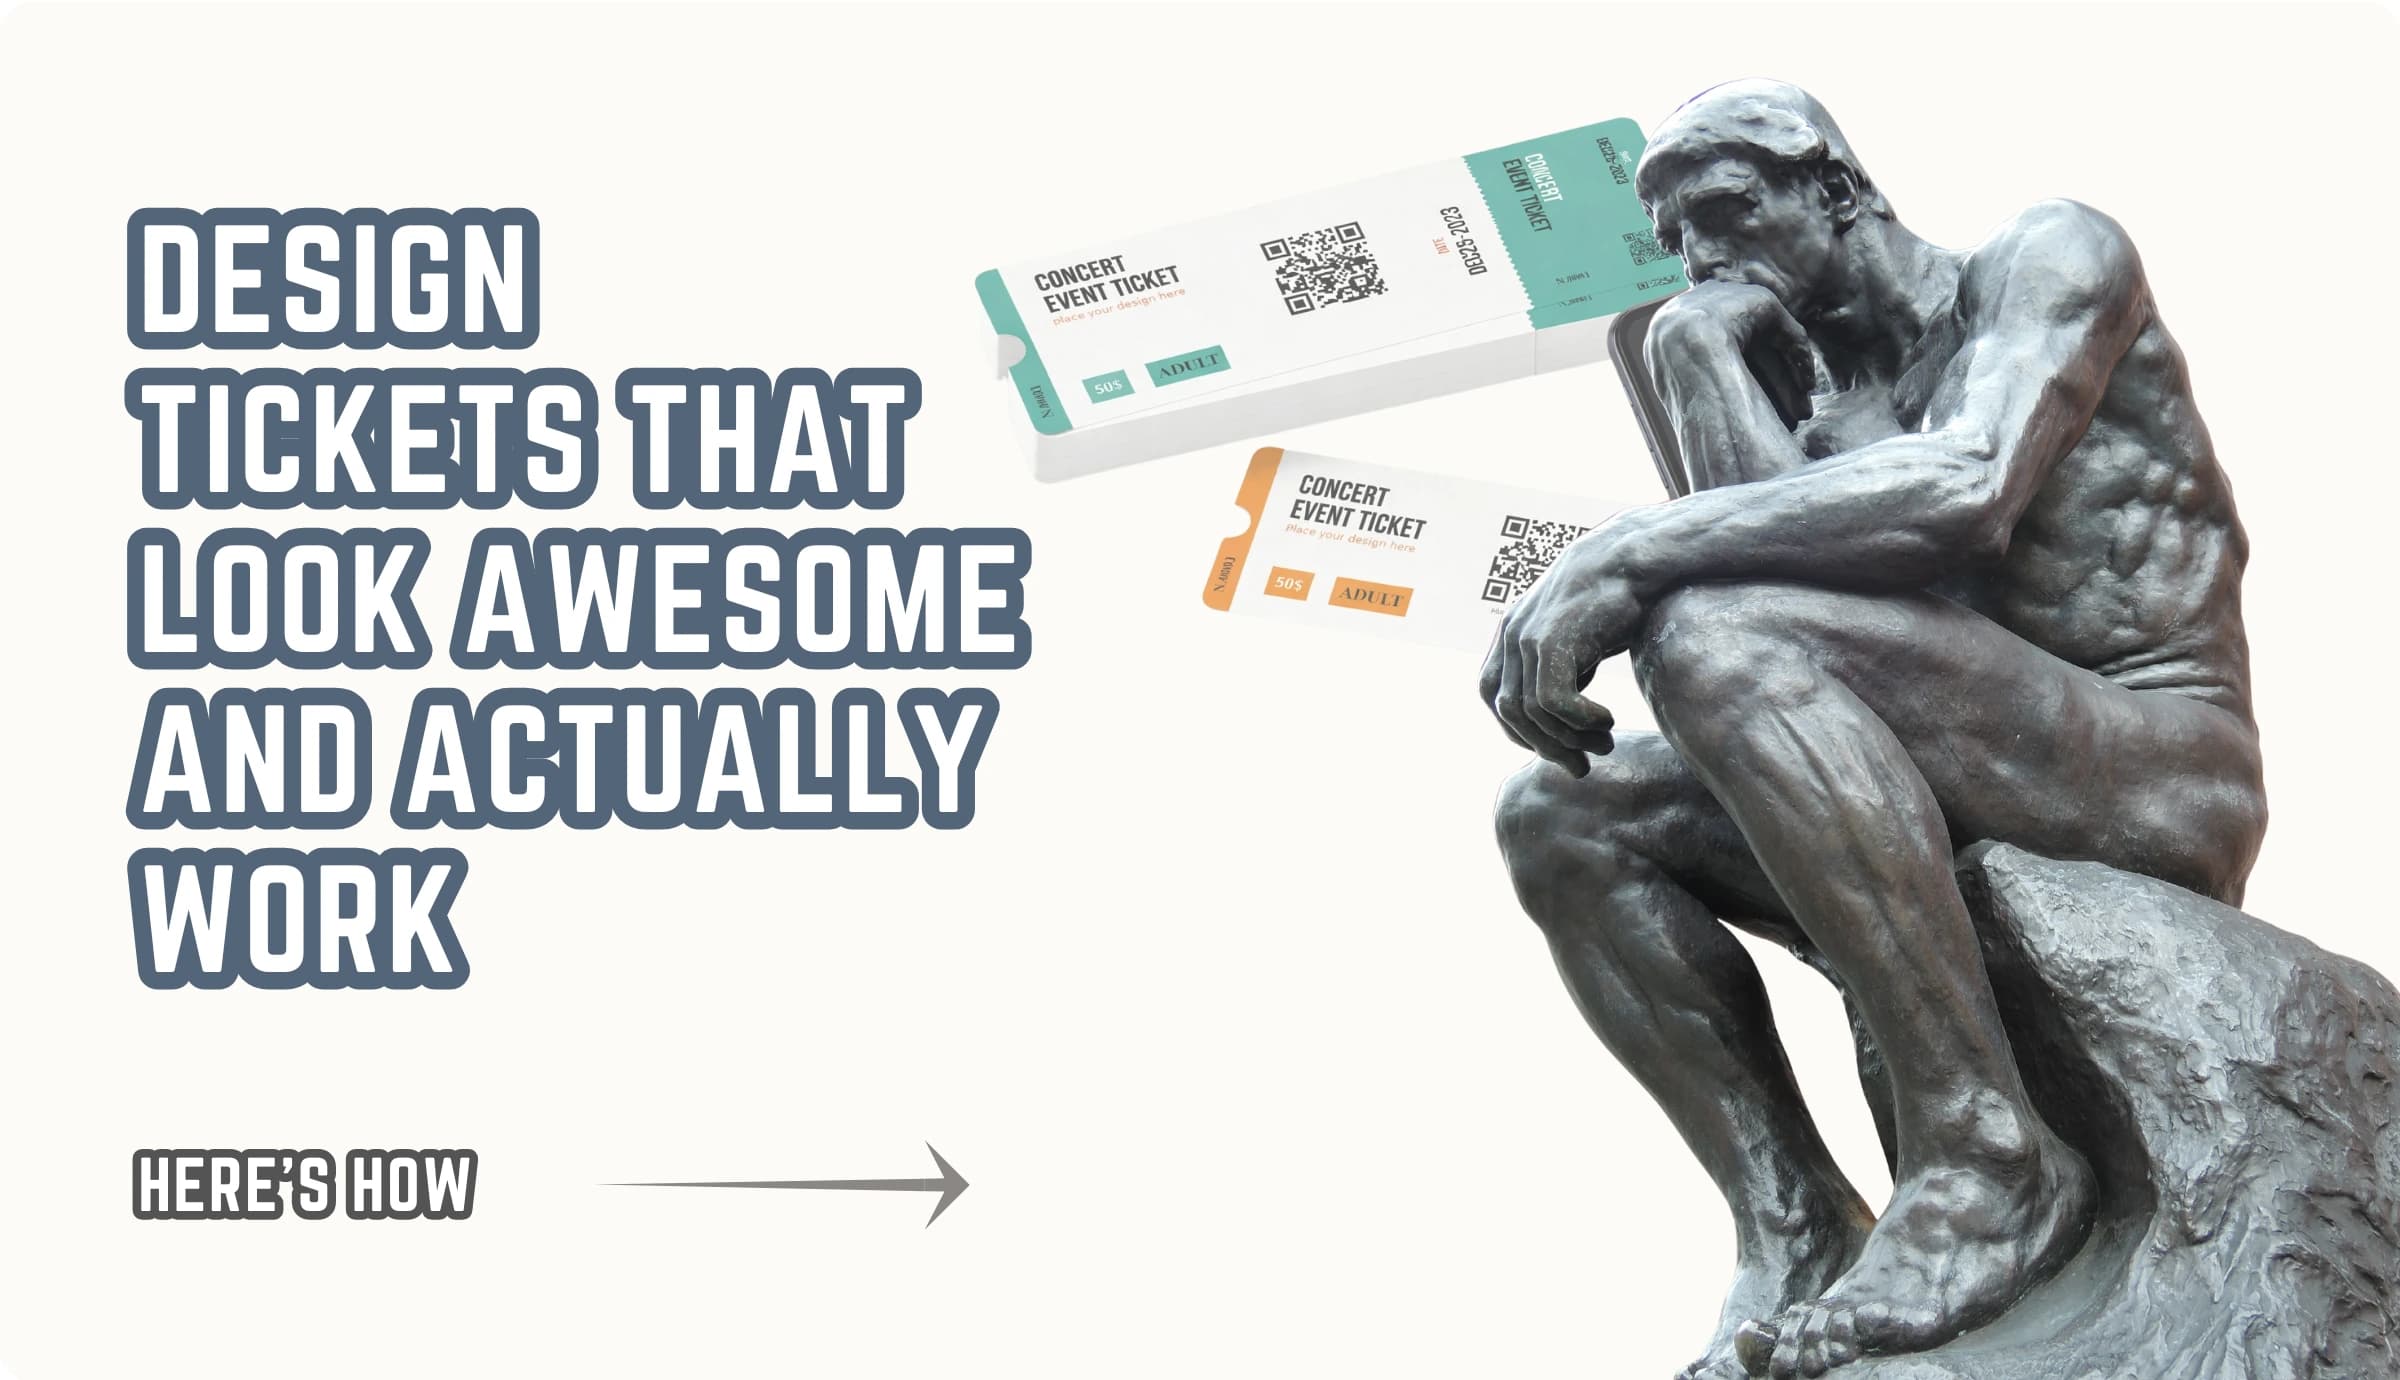
Key Takeaways: To design event tickets, start with the essential details, layer on your branding, and finish with a unique QR code for secure entry. A good ticket does two jobs at once: it looks professional and it stops fakes at the gate. Most attendees now open tickets on a phone, so design for a small screen first. Templates, AI design, and drag-and-drop tools let you create professional tickets in minutes, no designer needed. Ticket Generator gives you full branding control and automatically embeds a unique QR code on every ticket.
The global e-ticket market is projected to grow from USD 74.65 billion in 2025 to USD 116.34 billion by 2029, at a CAGR of 7.8%. Source: Fortune Business Insights – E-Ticket Market Size
At the same time, it's only logical to note that 71% of consumers expect companies to deliver personalized interactions, and 76% get frustrated when this doesn't happen.As digital tickets become the default, a thoughtfully designed, personalized ticket is no longer just a nice touch. It has become an important part of the attendee experience.
Those numbers changeshow you should design event tickets. If most of your guests will glance at their ticket on a phone at the entrance, the design has to be clean, scannable, and secure and not a busy PDF built for print.
Here’s the short answer: to design event tickets, you decide the format, add the essential event details, apply your brand’s colors and logo, and place a unique QR code that a scanner can validate at the door. Do those four things well and you get a ticket that looks the part and can’t be faked.
In this guide, I'll talk about what makes a ticket work, the exact information every ticket needs, and a step-by-step design process. I'll also covver how to keep tickets looking professional, how to make them secure, and the fastest ways to design them, so you can pick the approach that fits your event.
What makes a well-designed event ticket?
A well-designed event ticket is clear, on-brand, and secure. It shows the key details at a glance, reflects your event’s identity, and carries a code that can’t be copied.
Think of every ticket as doing three jobs:
- Inform. The guest should find the date, time, and venue in a second, without hunting.
- Brand. The ticket is a touchpoint, it should look like it belongs to your event, not a generic template.
- Protect. A unique code and ID stop duplicates and counterfeits before they reach the gate.
When one of these jobs is missing, you feel it later: confused guests at the door, a ticket that looks amateur next to your event page, or a line held up while staff sort out a copied QR code. Good design solves all three at the same time. If you want a broader starting point, our ultimate guide to creating event tickets walks through the full workflow from event setup to check-in.
What information should every event ticket include?
Every event ticket should include the event name, date, time, venue, ticket type, a unique ticket ID, and a scannable QR code. These are the non-negotiables.
At minimum, include:
- Event name and your logo for instant recognition
- Date and start time (add end time for multi-day or timed-entry events)
- Venue name and address, or a clear location line
- Ticket type or tier (General, VIP, Early Bird)
- Attendee name which will be useful for named or assigned-seating tickets
- Seat, row, and section for reserved seating
- A unique QR code and a unique ticket ID which will act as the security layer
- A short terms line that covers entry rules, refund policy, or age limits
Anything beyond this is a design choice, not a requirement. Resist the urge to crowd the ticket; white space around the QR code matters more than an extra graphic.
Did You Know? Users form first impressions of a website or brand in as little as 50 milliseconds, and those impressions are heavily influenced by visual design. Source: Interaction Design Foundation (summarizing research by Lindgaard et al.).
How do you design event tickets step by step?
You can design an event ticket in eight steps, moving from format to finished, distributable file. For this demo I will be using Ticket Generator which, honestly is one of the top choices in the market right now. It get's the job done, is quite affortable and packed with almost every feature you can think of. Plus first 10 tickets are free and the free trial unlocks all features, no gatekeeping.
First things first: Create your event for which you want to design digital tickets for:
1. Go to Ticket Generator and sign up to create an account
Here, you won't have to enter card details while signing up. And after signing up, you'll receive ten credits for free. Each credit allows you to create one ticket.
2. Now, click on Create New Event option.
3. Add event-related information such as event name, date, description, venue, and time. Once you're done, click on Create.
After you do this, your event will be created.
4. Once your event is created, click on the newly created event from the Manage Events tab. Look for the Ticket Design selction and click on it.
Before moving ahead you have to decide these things:
- Choose the format and size. Decide digital-first (mobile and PDF) or print. A common print size is 5.5″ × 2.125″, but a clean vertical layout reads best on phones.
- Start from a template or a blank canvas. A template gives you a proven layout; a blank canvas gives you full control. Browse event ticket design ideas if you need a starting direction. You can also explore event ticket ideas across different event types to get a clearer sense of what works before you start designing.
- Add the event essentials. Drop in the name, date, time, venue, and ticket type first, before any decoration.
- Apply your branding. Add your logo, two or three brand colors, and one or two fonts. Keep it consistent with your event page.
- Place a unique QR code. This is what turns a nice graphic into a working ticket. Give it clear space so scanners read it fast. With Ticket Generator, this is done automatically.
- Set up categories and variable fields. Use variable fields like guest name, seat, row, section, ticket ID, so each ticket is personalized automatically instead of edited by hand.
- Proof it on a phone. Check contrast, font size, and the QR code on an actual mobile screen before you commit.
- Generate and distribute. Export or send the tickets by email, SMS, or WhatsApp, and keep the design saved for your next event.
Now let's get into details.
How do you design and send tickets in Ticket Generator?
In Ticket Generator, designing and sending tickets is one connected flow, design the ticket, choose how it's delivered, and hit generate. Here's how it works in practice.
Step 1: Design the ticket
You get three ways to design, so you can move as fast or as custom as you like:
- Upload your own design. Bring a ready-made ticket and superimpose the unique QR code and ticket ID on top. Use the + button to add variable fields — guest name, row, seat number, that change on every ticket.
- Edit design (from scratch). Start from Ticket Generator's standard layout and make it yours: add a logo, change the background color, or drop in a background image.
- Choose from templates. Short on time but still want a polished look? Pick a pre-designed template, click Select Template, and your details instantly turn into a designer ticket.
Click Preview at any point to see exactly how your digital ticket will look before you commit.
Step 2: Choose a delivery method
When the design is done, click Done and pick how guests receive their tickets:
- Generate Form Link — share a mobile landing page to collect event registrations, with your own images, event description, form fields, and button text.
- Generate and Download — export tickets as a print-ready PDF.
- Generate and Send — email, SMS, or both, to up to 1,000 guests per batch; upload a CSV/XLS/XLSX of contacts or type them in manually.
- Generate via API — connect the Ticket Generator API to your own registration system and issue tickets programmatically, in real time.
Then click Generate, every ticket is created at once, and you'll get an email when the batch is ready.
How do you handle last-minute guests?
Walk-ins happen. Instead of running a whole new batch, generate a single ticket in about a minute: open the event, go to the Guest Tickets tab, click New Ticket(s) → Single Ticket, choose Download Ticket or Send Ticket, and generate. A fresh, valid ticket is ready on the spot.
What if a guest didn't receive their ticket?
You don't start over, you resend. In the Guest Tickets tab, click Resend Ticket, search by ticket ID, email, or phone number, open the ticket with View, confirm the guest's email or phone, and click Resend.
Pro Tip: You're never charged extra to resend a ticket, resends don't cost additional credits, so recovering a lost ticket is always free.
How do you make event tickets look professional?
To make tickets look professional, build a clear visual hierarchy, stick to two or three brand colors, use no more than two fonts, and leave breathing room around the QR code.
A few principles carry most of the weight:
- Hierarchy. The event name is largest, the date and venue come next, and fine print stays small. Guide the eye in order of importance.
- Color. Two or three colors max, pulled straight from your brand. More than that reads as clutter.
- Typography. One display font for the title, one clean font for details. Keep body text at least 12–14px for mobile legibility.
- White space. Empty space isn’t wasted, it makes the ticket feel premium and keeps the QR code easy to scan.
- Imagery. A single strong background or hero image beats several small graphics fighting for attention.
Pro Tip: Design the layout once, then let variable fields do the repetitive work. Ticket Generator lets you insert guest name, seat number, row, section, and ticket ID as variable fields, so one polished design generates thousands of personalized tickets automatically. You can also reuse the same design across future events without starting from scratch.
How do you design secure event tickets that prevent fakes?
Secure tickets use a unique QR code and a unique ticket ID for every attendee, checked by a scanner that flags duplicates, not one shared code copied onto every ticket.
This is where most DIY designs quietly fail. A ticket can look flawless and still be worthless at the gate if every attendee carries the same code.
“The most common mistake we see is organizers using a generic QR generator and realizing that this way every attendee will have the same code. Also, those generators can’t help you stop duplicates.”
— Anshul Singh Bisht, Head of Event Technology, Ticket Generator
To design a ticket that actually protects your door:
- Give each ticket a unique QR code plus a unique ticket ID, not a repeated graphic.
- Use a validator that returns a clear Valid / Invalid / Duplicate / Expired result on scan.
- Enable one-time validation so a screenshot forwarded to a friend won’t get two people in.
If you want to go deeper on the technology, our complete guide to QR code tickets explains how smart entry works end to end.
What’s the fastest way to design event tickets?
The fastest way is to start from a ready-made template or let an AI designer generate the ticket for you, then adjust the details.
Three routes, fastest first:
- AI design. Enter your event details and get a full, branded ticket generated for you (layout, visuals, and text) with a selectable art style and color theme. In Ticket Generator, each request returns four designs to choose from, and every account gets five free AI tokens to start.
- Templates. Pick a pre-designed template that fits your event type and swap in your details. This is the reliable middle path.
- Canva integration. Prefer Canva? Connect your account, edit an uploaded ticket design there, and import it straight back, no manual download-and-re-upload.
All three still end the same way: a unique QR code is embedded automatically, so speed never costs you security.
How Ticket Generator helps you design event tickets
Ticket Generator is built for organizers who want tickets that look professional and hold up at the gate, without hiring a designer or stitching tools together.
You design in a built-in drag-and-drop event ticket design tool, start from templates or upload your own artwork, and keep full branding control with no platform watermarks or logos. Variable fields personalize each ticket automatically, AI design gives you four branded options in seconds, and the Canva integration fits the tools you already use. When you generate a ticket, a unique QR code and ticket ID are embedded automatically, and the companion Ticket Validator app flags duplicates in real time. The platform is ISO 27001:2022 certified, so the security isn’t an afterthought.
Here’s how that compares to designing in a generic graphics tool:
|
Design factor |
Generic graphics tool |
Ticket Generator |
|---|---|---|
|
Branding |
Full, but manual |
Full control, no watermark |
|
Personalization |
Edit each ticket by hand |
Automatic variable fields |
|
Unique QR per ticket |
Not built in |
Auto-embedded on every ticket |
|
Duplicate detection |
None |
Built-in validator app |
|
Distribution |
Export only |
Email, SMS, WhatsApp, or PDF |
|
Speed |
Slow at scale |
Templates + AI design |
The results show up in practice. KHreative Works, a design firm in Trinidad & Tobago, used Ticket Generator to run its conference: issuing 680+ tickets with 91% sent via batch and hitting a 98% maximum attendance rate. Across the platform, organizers have generated over 1,000,000 tickets for 30,000+ events in 100+ countries.
The practical win: you design once, distribute in a click, and know every ticket at your door is genuine.
Conclusion
Designing event tickets comes down to three things working together: clear information, confident branding, and real security. Get the essentials on the ticket, make it look like your event, and give every attendee a unique, scannable code.
Not every event needs a print-shop finish, and you don’t need a design background to get there. Templates and AI design close most of the gap in minutes, while variable fields and a validator handle the parts that used to eat your time at the gate. The payoff is a ticket that earns trust before the event and prevents headaches during it.
Try Ticket Generator to design event tickets that look professional and can't be faked, with full branding control, a unique QR code on every ticket, and delivery in a click. Your event. Your revenue. Your rules.
FAQs: How to Design Event Tickets
- How do you design event tickets for free?
You can design event tickets for free using template-based editors, then only pay when you generate the final tickets. Ticket Generator gives every new account 10 free credits and 5 free AI design tokens, so you can design and test a ticket before spending anything, the credit-based model means you pay per ticket generated, not a subscription.
- What size should an event ticket be?
A common printed event ticket is 5.5″ × 2.125″, close to a standard cinema stub. For digital tickets, a clean vertical layout works best because most attendees open tickets on a phone. Match the format to how guests will actually use the ticket rather than defaulting to print.
- Can I add a QR code to my event ticket design?
Yes and you should. A unique QR code is what lets staff validate entry and catch duplicates. With Ticket Generator, a unique QR code and ticket ID are embedded automatically on every ticket, even on custom designs you upload, so you don’t need a separate QR generator.
- What’s the best tool to design event tickets?
The best tool depends on whether you only need artwork or a working ticket. Graphic design apps handle looks but not validation; a dedicated platform like Ticket Generator combines design, personalization, secure QR codes, distribution, and check-in in one place, so the ticket you design is the ticket you can scan.
- How long does it take to design an event ticket?
With a template or AI design, you can have a finished, branded event ticket in a few minutes. Building from a blank canvas takes longer but gives full control. Either way, using variable fields means one design personalizes into thousands of tickets automatically, so scale doesn’t add time.
About the author
Content Marketer at Ticket Generator
Ashish Chandra has spent 5+ years writing about event technology, covering topics such as ticket design, QR check-ins, attendee management, and event marketing strategy. As the Content Lead at Ticket Generator, Ashish has analyzed hundreds of real-world event workflows and ticketing setups, helping organizers across industries use QR-based tickets, event landing pages, and smarter ticketing systems to run smoother, better-attended events. His writing is shaped by real user needs and the questions organizers ask most often: How do I sell more tickets? How do I avoid chaos at the door? How do I make my next event better than my last? When he steps away from the screen, you'll likely find him hiking a quiet trail or tending his plants- his preferred way to reset.
Latest posts
Check out our latest articles on the blog
 12 min read
Email Marketing for Events and Webinars: What to Send, When to Send It, and How to Automate It
A step-by-step playbook for email marketing for events and webinars. Learn what to send, when to send it, and how to automate every email for in person and virtual events.
Ashish Chandra
18 Oct 2026
 10 min read
Halloween Masquerade Ball: How to Host a Night of Masks and Mystery
From Venetian-inspired masks to QR-coded entry, here is your complete guide to planning a Halloween masquerade ball your guests will talk about for years.
Ashish Chandra
18 Oct 2026
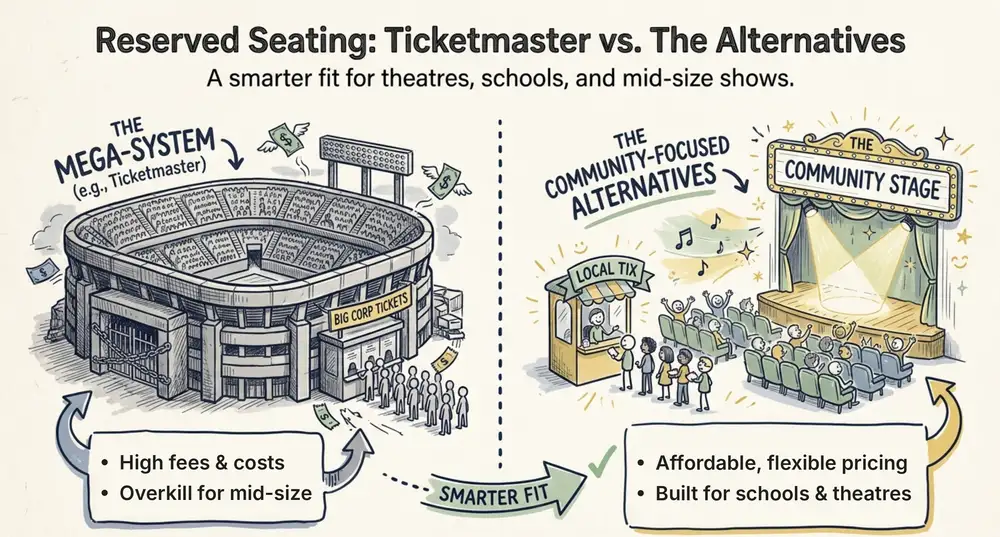 9 min read
Ticketmaster Reserved Seating: How It Works and a Better Fit for Smaller Events
Ticketmaster reserved seating works well for arenas. If you run a theatre, gala, or mid-size show, see how it works, what it costs, and how to switch.
Ashish Chandra
16 Oct 2026