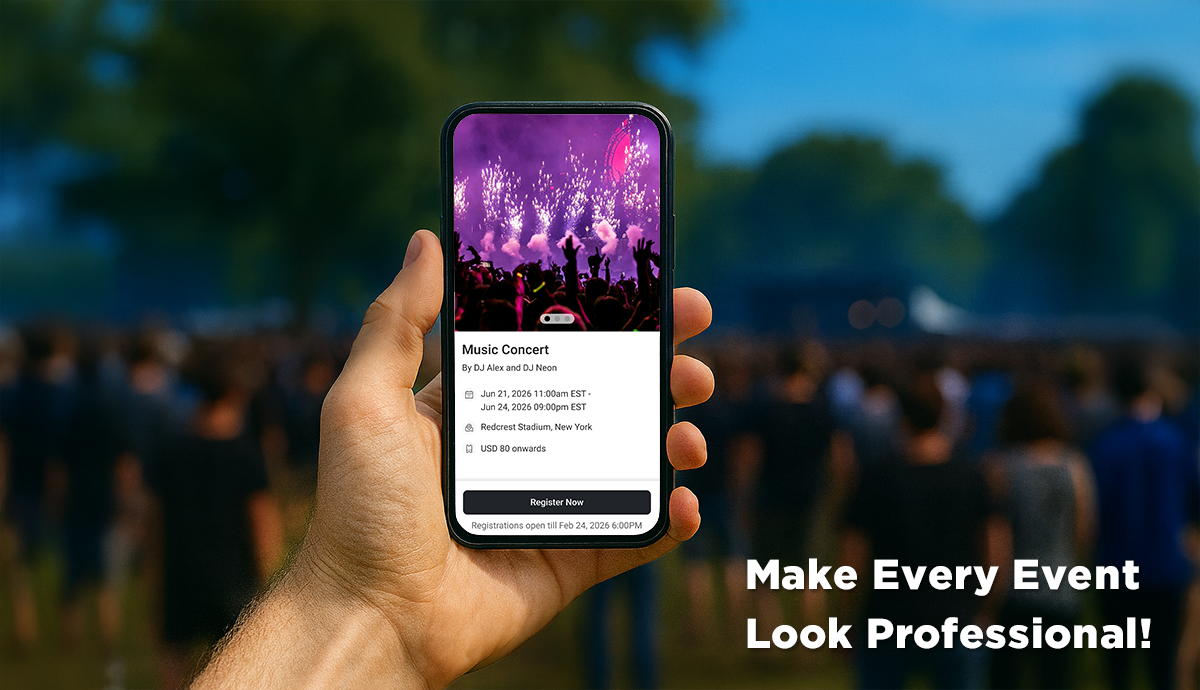
As an event planner, the key to hosting a good event starts right from planning for it. Next step involves the promotion and preparation.
But for your event to actually become successful, you need to get people in, i.e. registrations.
So, let's know a bit more about what an event registration is.
A. What is event registration
Event registration is when you arrange for participants to join in an experience.
And quite obviously, event registration is essential to the event's overall success. It's how a business encourages participants to sign up.
And only once you get them to register, you can make the necessary arrangements (and even get the revenue operations moving).
In this article, we'll talk about everything related to event registrations with a special focus on how to restrict event registrations.
In case you want to straight jump to restricting registrations, skip to sections C and D.
B. Why is event registration important
Event registration plays a critical role in the success of an event. Primarily, it helps you attract attendees, secure their participation, and do a lot more. For example, it:
- Provides an incentive for attendees to commit to the event
- Allows for the collection of revenue and payments in advance
- Creates the first impression of the event for attendees
- Can affect the overall satisfaction levels of attendees
- Helps you allocate necessary resources for the attendees
- Helps estimate costs accurately
- Understand the target audience and create targeted marketing campaigns
- Provides an opportunity for potential partners or sponsors
However, it's important to have a simple and streamlined registration process. That's because a complicated process deters the experience of your attendees. And when that happens, the registration rate takes a hit.
So what you need is a good registration process and an even better event registration tool. It is important for several reasons, such as:
- Smooth registration process
- Time and resource saving
- Efficient data management
- Flexibility and customization
- Ability to integrate with other tools
Let us move further and know what features to look for in an event registration application, and how to restrict event registrations.
C. Features to look for in an event registration app
As discussed earlier, the first thing you need to get started is an event registration tool. And while you get your research started, make sure your tool has these features:
1. Cap on attendees allowed
Because why not? restricting event registrations is what you're looking for anyway. So make sure your tool helps you put a cap on the number of registrations you can receive.
2. Mobile optimized landing page
Before people register for the event, you'll have to first highlight what the event is about, why should they come, and so on
For all this to happen, you'll need a mobile-optimized landing page for the attendees to see.
This page should also have the registration form for them to fill out.
3. Payment processing
Will people have to pay to buy the tickets/register for the event? Then make sure your service provider helps you receive payments too. After all, why use two different tools to get things moving when just one can do it all for you?
4. Event performance tracking
While selecting an event registration app, it would be great to see the event performance, right?
A good event registration platform help you get:
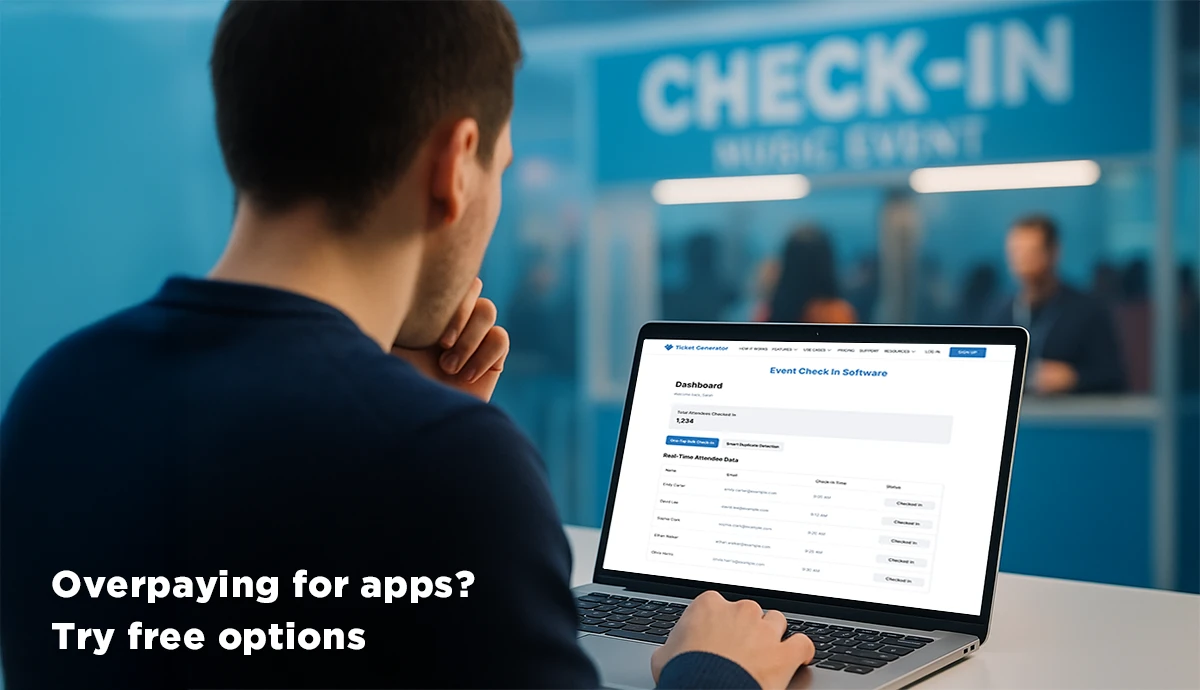
- The real-time analytics on the total attendance
- Attendance by time
- Number of duplicate and invalid tickets
- The number of ticket validations by coordinator
6. Customer support
Event, be it of any type, involves humans.
If any technical problem arises with the ticketing and registration system on the fevent day, you'd need quick support.
Choose a tool that offers reliable customer support. It could also mean effective resources such as documentation, video tutorials, and responsive customer service.
7. User-friendly interface
The tool should have a user-friendly interface that makes it easy for both organizers and attendees to use.
In summary, when selecting an event registration tool, consider the customization options, mobile optimization, payment processing, data management, reporting and analytics, integrations, customer support, and user interface.
D. How to setup the event registration process
You know what features you need to look for in an event registration app. Now is the time to find one.
But wait, you don't need to scour the internet for the same. We've done the hard work for you
1. Create Event
From your preferred browser, visit Ticket Generator to sign up for an account. As a new user, you will get 10 credits (1 credit = 1 ticket) at no cost.
These credits can help you test if the tool is up to speed to your preferences.
Now, head to Create Tickets and select the Bulk option. Up next, create/select your event.
When creating a new event, make sure to specify the details such as:
- Name of the event
- Timings
- Venue
After filling in all the details, click on Create.
This would then create your event.
2. Design tickets
There are two options at your disposal while designing your tickets.
i. Your own design
If you have your own ticket design, you can upload it here. To complete the ticket, you can then place the ticket ID and the QR Code.
Also, by selecting the plus sign, you can add variable information blocks.
These blocks can be moved and resized. Each ticket allows you to add a maximum of five blocks.
The actual variable information data will be covered in further steps.
After finalizing everything, click on Done.
ii. Using default design
With this option, you may create your own online ticket design.
On clicking, a ticket will be displayed with the information you entered in the first step.
For customization, you have these two options:
- Ticket background image: You can either insert the image URL or upload the backdrop picture from your computer
The image must be in the PNG, JPEG, or JPG format. - Background color: You can use this option to give your ticket a solid background color
This can be done by specifying a HEX Code or CMYK color.
Note that you can either change the background image or the background color. - Logo: Similar to how you uploaded the background image, you may add the logo
You can paste the logo's URL or upload it directly from the system. PNG, JPEG, or JPG format should be used for the file.
The image file size shouldn't be more than 5MB.
- Event Description: A tagline and other details with up to 100 characters can be added. For all tickets, this information will be the same
- Variable information: Similar to the previous design choice, you can add a variable information block by simply clicking on the plus symbol
Up to five blocks may be added using this option.
3. Delivery Method
After you're done with designing, you can choose how you want to send out your tickets.
You'll see four option to generate tickets:
- Via link
- Generate and download
- Generate and send
- Via API
E. How to restrict event registrations
You've now done the ground work. Let's now see how to set-up and restrict event registrations.
1. From the Ticket Generator dashboard, select or create an event
2. Once you've selected the event, choose ticket design and the delivery method
3. On the design registration page, add
- Banner images
- Event details
- Description box
- Form fields
- Register button
4. Click on Done after finalizing all the details
5. Now proceed to Registration Settings
6. You can choose between two Approval System: Auto-Approve and Requires Approval
Auto-Approve will help approve all registrations automatically without any interventions.
7. Up next, you will see Registration Limit. This option lets you set a limit on the number of registrations allowed
When the limit is reached, the event page will accept no more registrations
8. The next option you would see is Restrict to Single Registrations Only
When you enable this, guests can only register one time, using their phone number or email.
9. The final option at your disposal is Register By
By enabling this, you can set a final registration submission date. When the set date is reached, the registration page will display Registration closed for this event
Summing Up
All the planning, administration, and gathering of resources is necessary to host a successful event.
While you want your event to be attended by many people, you might run into the problem of over registration.
To avoid that scenario, you can restrict event registrations using online registration platforms like Ticket Generator.
We hope that you've learned everything on how to restrict event registrations. If you have any questions, let us know in the comments!


.gif)


