Create Tickets in Google Docs – Free DIY Tickets Maker!If you need to create tickets in Google Docs, you’re in the right place. Many people think they need fancy design software for tickets.
But the truth is, you can make good-looking tickets right inside Google Docs. It’s free, simple, and works well for all kinds of events.
Whether you’re planning a local concert, a school fundraiser, or a small business event, Google Docs can help you get the job done.
The best part? You don’t need to be a designer. You just need to know your event details and follow a few steps.
This makes it perfect for small business owners, event planners, or anyone running things on a budget.
Plus, once your tickets are ready, you can print them at home or share them online.
In this blog, we’ll walk you through everything.
You’ll learn why Google Docs ticket templates are handy, how to use them, and how to make your own tickets from scratch. We’ll also share tips for adding your logo, colors, and even layouts.
By the end, you’ll know exactly how to make a ticket on Google Docs like a pro—without spending a penny.
Let’s get started!
A. Why use Google Docs for ticket creation?
Let’s be honest—not everyone has fancy design software sitting on their computer.
And even if you do, who wants to spend hours learning it just to make a simple ticket?
That’s why Google Docs is such a handy option. It’s already free, and most people know how to use it for regular documents.
What many don’t know is that you can also create tickets in Google Docs without much trouble.
One of the biggest reasons people love this option is how easy it is. If you’ve ever made a school project, a letter, or even a to-do list in Google Docs, you’re halfway there.
You don’t need to be a designer or a tech whiz. Just open a blank page and start adding your event details.
Another reason? Flexibility. You can work on your tickets at home, at a coffee shop, or even on your phone if you’re stuck in line somewhere.
Google Docs works everywhere—and that’s a lifesaver if you’re planning with friends or teammates.
And when your tickets are ready? You can print them, email them, or even text the link if you want to go paperless.
If you want to save time, you can also grab a Google Docs ticket template online and just change a few things to match your event.
At the end of the day, if you’re wondering how to make a ticket on Google Docs, the answer is simple: open it, design it, print it — done. It’s not perfect, but it works. And for a lot of people, that’s all they need.
B. Steps to creating tickets in Google Docs
You don’t need a lot of expertise to create tickets in Google Docs. With the right steps, you can make professional tickets for free — all inside Google Docs.
Whether you want to start from scratch or use a Google Docs ticket template, here’s the complete process.

1. Plan your ticket design
Before you open Google Docs, take a minute to think about what your ticket needs. Every ticket should have some basic details:
- Event name (make this big and bold)
- Date and time (so no one forgets)
- Venue or location (so guests know where to go)
- Seat number (if needed)
- Special instructions (like entry rules or contact info)
- Unique ticket number (for event security and quick verification)
Next, think about your branding. If this is for a business or a big event, you probably have colors, fonts, and a logo you want to include.
Even for small events, adding a fun color or simple icon can make your ticket look much better.

2. Set up your document
Now, it’s time to open Google Docs and start fresh. Click File > Page setup and choose the best size for tickets. Good options are:
- Statement (5.5" x 8.5") for larger tickets
- A5 (5.83" x 8.27") for smaller ones
You can also pick landscape orientation if you want wide tickets instead of tall ones.
Don’t forget to shrink the margins so you have more space to work with.
To keep everything lined up neatly, you can insert a table right at the start. Even if your ticket is just one box, a table gives you control over spacing and layout.
For multiple tickets on one page, set up a table with 2 or 3 columns and several rows.
3. Want to save time? Use a ready-made template
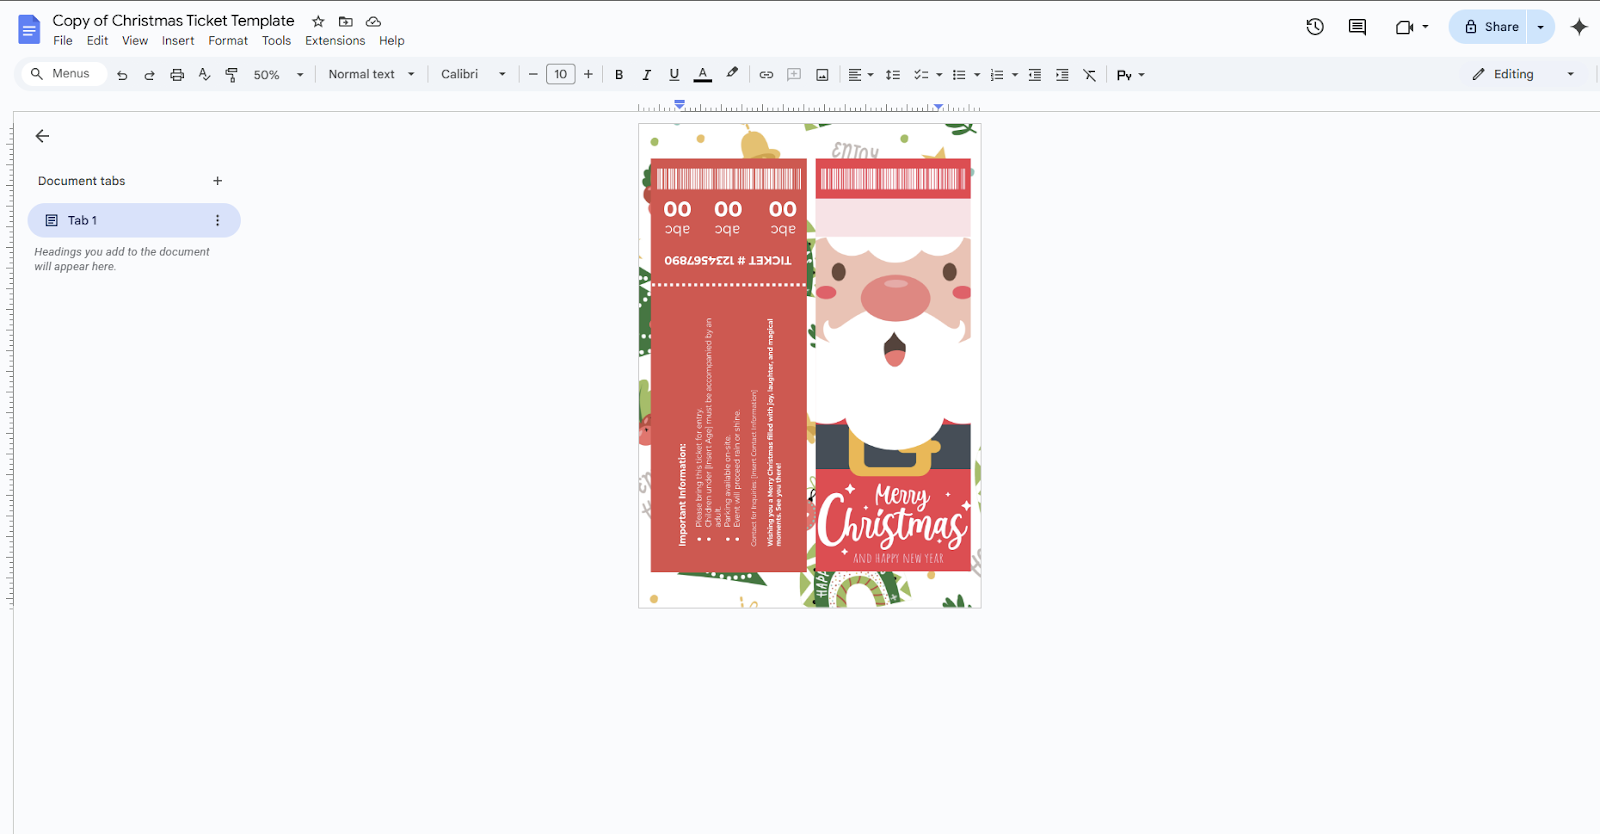
If you don’t want to design from scratch, there’s a faster way — Google Docs ticket templates. These pre-made designs already have layouts and sections set up for you. You just change the text and add your personal touch.
Here are two great places to find free templates:
Docs and Slides - Ticket Templates
Template.net - Google Docs Ticket Templates
Using a Google Docs ticket template skips the hard part and gets you straight to editing. If you’re in a rush, this is the way to go.
4. Build the ticket layout (If starting from scratch)
If you’re designing your own ticket, now it’s time to build the structure. Use tables, text boxes, or a combination of both to create clear sections.
One good layout trick is to split the ticket into three parts:
- Top: Event name and branding
- Middle: Date, time, and venue
- Bottom: Seat number, QR Code, and special notes
For a clean look, you can also add lines or borders between these sections. This helps people’s eyes move easily from one part to the next.
5. Add your event details and branding
Now comes the important part — filling in the details. Start with the event name right at the top.
Make it the biggest text on the ticket. Bold it. Center it. Make sure no one can miss it.
Under that, type the date, time, and place. Use clear, easy-to-read fonts like Arial, Open Sans, or Poppins.
Make sure the text size is big enough for anyone to read, even from a quick glance.
Don’t forget your branding! Go to Insert > Image and add your logo if you have one. You can also add a small icon or image that fits your theme — like music notes for a concert or a clapperboard for a film night.
For color, keep it simple. One strong accent color is enough — too many colors can make the ticket look messy.
6. Format everything so it looks polished
Professional tickets are neat and easy to read. In Google Docs, you can make that happen with just a few clicks.
- Use the same font for all the details (except the event name — that can have its own style).
- Keep text left-aligned or centered, but not both.
- Use bold or a slightly larger font size for the most important info, like the date and time.
Spacing also matters. Leave a little empty space between sections so the ticket doesn’t feel cramped.
7. Review, save, and print
Before you call it done, zoom out and look at the whole page. Is everything lined up? Is the text clear? Does your event name pop? Fix anything that looks off.
When you’re happy, save your ticket as a PDF. This keeps everything in place when you print. To do that, go to File > Download > PDF Document (.pdf).
If you’re printing at home, use thicker paper to make the tickets feel real. If you need hundreds of tickets, a local print shop can save you a lot of time.
C. Challenges and limitations
Even though you can create tickets in Google Docs for free, it’s not perfect. There are a few downsides you should know before you start.
1. Limited design freedom
Google Docs is made for writing, not designing. If you want fancy graphics, angled text, or layered effects, you’ll hit limits fast. Simple layouts work best here.
2. Tricky bulk printing
Need 100+ tickets? Google Docs doesn’t have built-in numbering tools. You’ll have to add numbers manually or copy from a list — which gets messy if you need lots of unique tickets.
3. Security risks (no security for your event)
If your tickets don’t have security elements (such as QR Codes or barcodes), they’re easier to copy or fake. Anyone with basic editing skills could screenshot or duplicate your ticket.

4. Sharing risks
If you forget to change your file’s sharing settings, anyone with the link can edit your tickets. Always check and set it to “Viewer Only” before you share.
5. Not ideal for fancy events
For casual events, Google Docs ticket templates work great. But for large or high-end events, you might want a more professional design tool like Ticket Generator.
Even with these limits, creating tickets in Google Docs is still a smart option for many people. It’s free, fast, and doesn’t need special skills. As long as you know its limits and work around them, Google Docs can handle your next event—no design degree required.
D. FAQs
1. Can I really create tickets in Google Docs for free?
Yes, you can! Google Docs is 100% free if you already have a Google account. You won’t need any paid software or special tools to create tickets in Google Docs.
2. Do I need design skills to make a ticket?
Not at all. Google Docs is simple to use. If you can make a basic document, you can make a ticket. Plus, you can use a Google Docs ticket template to skip most of the design work.
3. How do I make sure my ticket looks professional?
Keep it simple. Use clear fonts, leave some space between sections, and stick to one or two colors. Adding a logo or a small image also helps make it look polished.
4. Can Google Docs auto-number my tickets?
Not directly. Google Docs doesn’t have built-in auto-numbering for tickets. If you need numbered tickets, you can either type the numbers manually or create a list in Google Sheets and copy them into your tickets.
5. Should I use a template or design from scratch?
If you want something fast and easy, use a Google Docs ticket template. If you want full control or a very custom look, designing from scratch is a great option.
E. Conclusion
If you want to create tickets in Google Docs, now you know exactly how to do it.
Whether you choose a ready-made Google Docs ticket template or build your own design from scratch, Google Docs makes it possible — even if you have zero design skills.
It’s not the fanciest tool, and it has some limits, but for small events, quick projects, or low-budget plans, it gets the job done.
And if you ever want something faster — like automatically numbered tickets with built-in QR Codes — tools like Ticket Generator can save you even more time.
For now, open Google Docs, try out what you’ve learned, and start making your perfect ticket today.


.gif)
.webp)
.webp)