Key Takeaways: An invite-only Eventbrite setup means publishing the event as private, then sharing a link or password. As of 2026, Eventbrite offers two private options: anyone with the link, or only people with the password. Private listings still carry Eventbrite branding and full service fees on paid tickets. A forwarded link or shared password can let uninvited guests in; the page checks access, not identity. Ticket Generator skips the public page: unique QR tickets go straight to your guest list, commission-free.
Let's say I have set up guest lists for everything from 40-person board dinners to awards nights with a few thousand seats. And I keep seeing the same pattern: someone types “invite only Eventbrite” into a search bar, assuming the world’s biggest event marketplace must also be the right home for their most private event. It is a fair assumption. It is also worth questioning, and I will explain why.
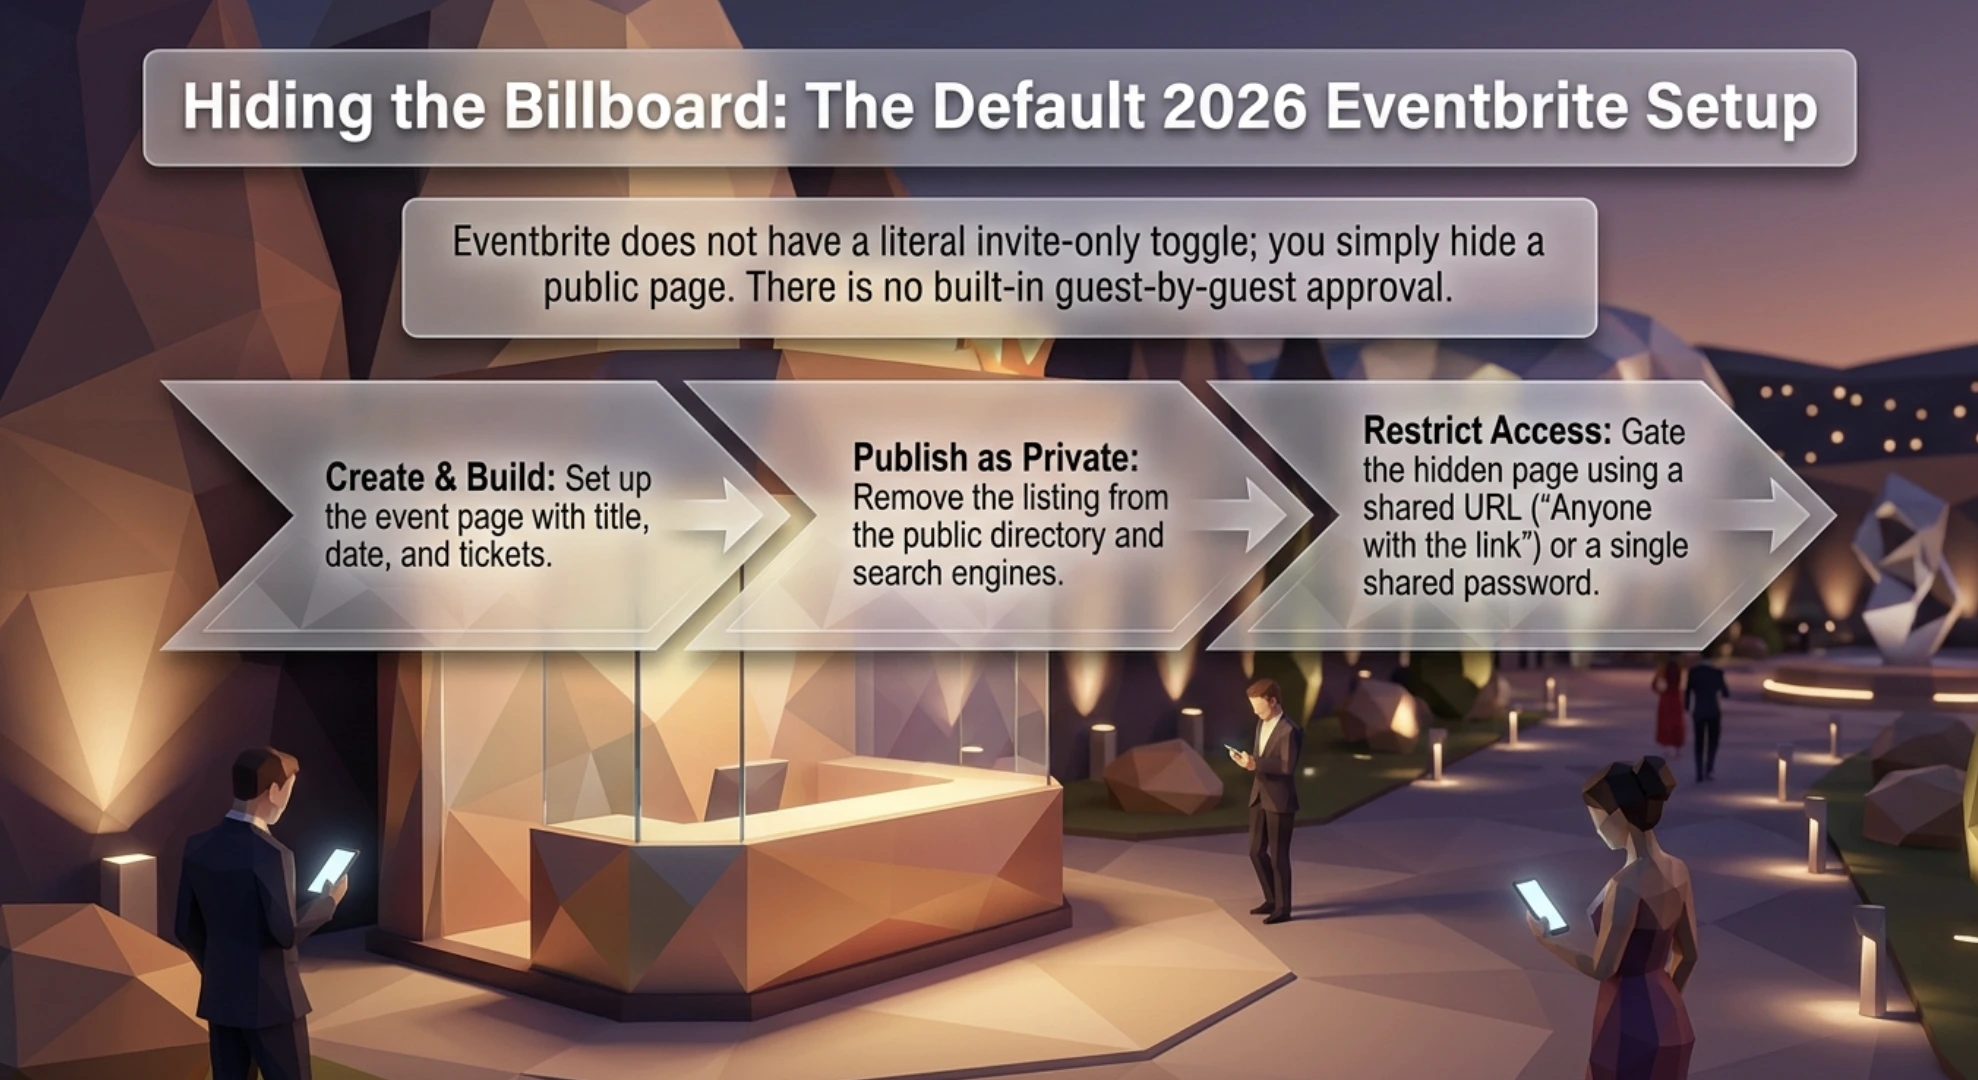
First, the short answer. Eventbrite does not have a literal invite-only toggle in its current publish flow. What you do instead is publish your event as a private event, then choose who can open it: anyone who has the link, or only people who have a password. You share that link or password with your guests, and the event stays out of Eventbrite’s public directory and search engines.
In this guide, I will walk through how to make Eventbrite invite-only step by step, show you how to make an Eventbrite event private after it is already live, and be honest about where this setup leaks. Then I will show you what I would use instead when the guest list is fixed, the stakes are high, or the tickets are paid.
What is an Invite Only Eventbrite event?
It is a private listing that stays out of Eventbrite’s public directory, major search engines, and partner sites. Only people who receive your event link or password can see the page and register.
That is the whole mechanism. People often search for an Eventbrite invite only event expecting a dedicated toggle, and older tutorials do mention an “only people with an Eventbrite invitation” audience option. But the current publish flow, per Eventbrite’s own help documentation in 2026, offers two private choices: link access or password access. There is no vetting layer or guest-by-guest approval built into the privacy setting itself.
Organizers typically reach for this setup for:
Board meetings and leadership offsites
Product previews and press briefings
VIP dinners and client appreciation nights
Awards ceremonies and galas
Alumni reunions and member-only gatherings
Employee town halls and internal training
In every one of these, the guest list already exists before the event page does. Hold that thought. It matters later.
How do you make an Eventbrite event Invite-Only?
You make an Eventbrite event invite-only by publishing it as a private event and restricting access with a link or a password. Here is how to make Eventbrite invite-only in six steps, based on Eventbrite’s current help documentation:
Log in to your Eventbrite account and select Manage my events from your account menu.
Open your Event Dashboard by clicking the event you want to restrict. If the event does not exist yet, create it first with your title, date, location, and ticket types.
Go to the Publish section of the Event Dashboard.
Choose Private instead of Public. Public events appear in Eventbrite’s directory, on major search engines, and on partner sites. Private events do not.
Pick your private audience. You get two options. “Anyone with the link” means anyone holding the event URL can view the page and register. “Only people with the password” means guests must enter a password you set before they can access the page.
Decide the timeline, then publish. Eventbrite lets you keep the event private permanently or schedule a date and time for it to go public automatically, which is handy for presale-style launches.
After publishing, distribution is on you. Share the private link or password with your guest list through Eventbrite’s email tools or your own email. And if you want the invitation itself to feel considered rather than copy-pasted, I have shared my favorite event invitation approaches separately.
Pro Tip: If your guest list is fixed and you do not actually need a registration page, Ticket Generator's Direct Ticketing mode skips the event page entirely. You add your guests, and each one receives a unique QR ticket by email, SMS, or WhatsApp. Nothing exists publicly, so there is nothing to hide.
Can you make an Eventbrite event private after publishing it?
Yes. Privacy settings can be changed at any time, so a live public event can be switched to private from the same Publish section. If you are searching for how to make an Eventbrite event private after launch, the steps are identical: open the Event Dashboard, go to Publish, switch Public to Private, and choose link or password access.
There is one catch, and it is a big one. Eventbrite’s help center states that switching a published public event to private will not remove it from third-party search results, like Google, if their systems already indexed it. The page stops appearing in Eventbrite’s own directory, but a cached search listing can keep pointing people at your event.
So if privacy genuinely matters, set the event to private before you publish, not after. A retroactive lock on a door everyone already photographed is not much of a lock.
Already know exactly who is coming? Skip the page and send tickets straight to every name on your list with Ticket Generator.
Where does the Invite-Only setup on Eventbrite fall short?
The gaps come down to four things: access control, exposure, cost on paid tickets, and data ownership. Private hides the page. It does not verify the person.
Here is what I mean, from experience running the door at these events:
Links travel. Anyone with the link can register. One guest forwards it to a colleague, that colleague forwards it again, and your “curated” list quietly grows. Passwords behave the same way once they land in a group chat.
You are still on Eventbrite’s turf. The page lives on eventbrite.com with Eventbrite branding, Eventbrite checkout, and Eventbrite confirmation emails. For a client-facing VIP evening, that frame may not be the one you want.
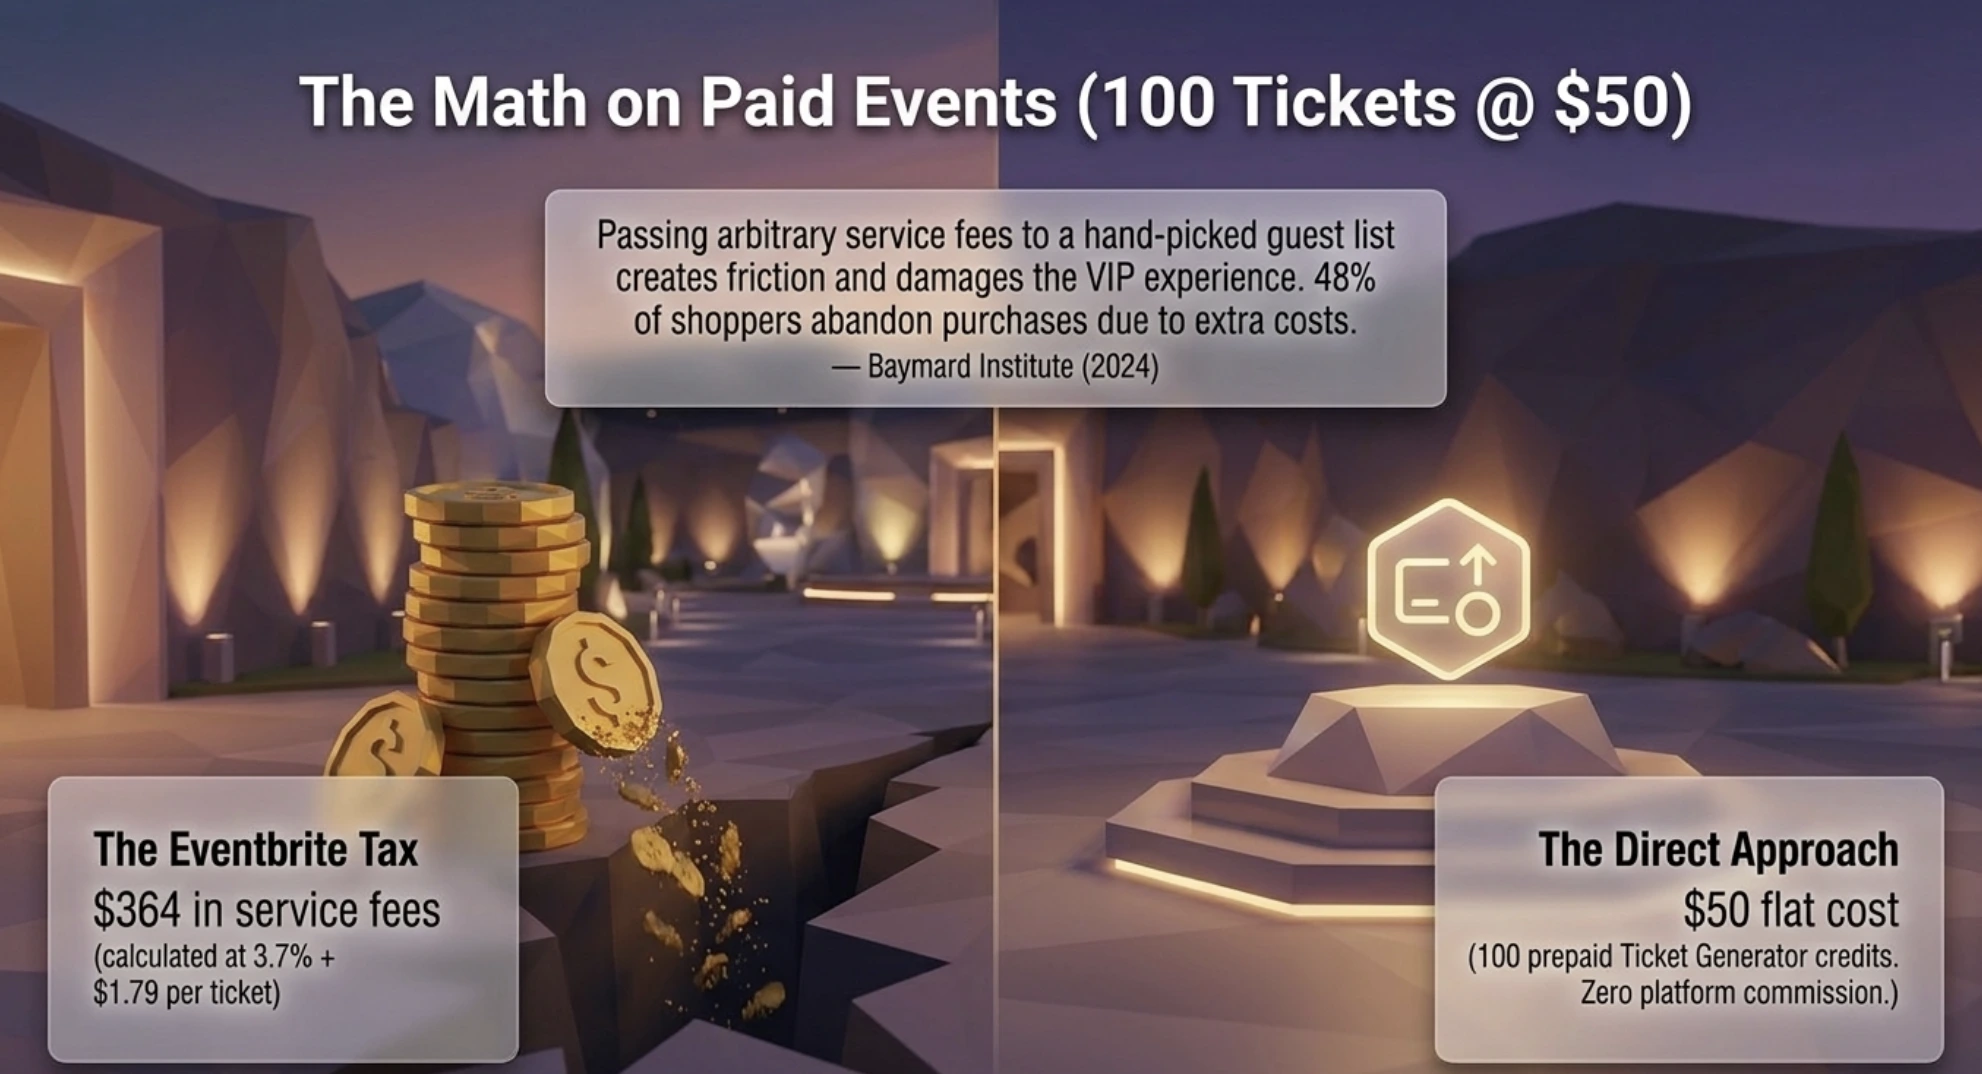
Paid tickets carry full marketplace fees. Per Eventbrite’s published US pricing in 2026, paid tickets incur a 3.7% plus $1.79 service fee per ticket, plus 2.9% payment processing. On a $50 ticket that totals about $5.09, roughly 10 percent. I break down the full structure in my guide to Eventbrite pricing. Free events, to be fair, carry no service fee.
Attendee data does not live only with you. Registrations flow through the platform’s systems, which matters if your event involves executives, press embargoes, or client confidentiality.
Did You Know?48% of US online shoppers have abandoned a purchase because extra costs like fees were too high? That was the most cited reason in Baymard Institute's 2024 checkout research. Passing a service fee to a hand-picked guest list is an odd way to say "you're special."
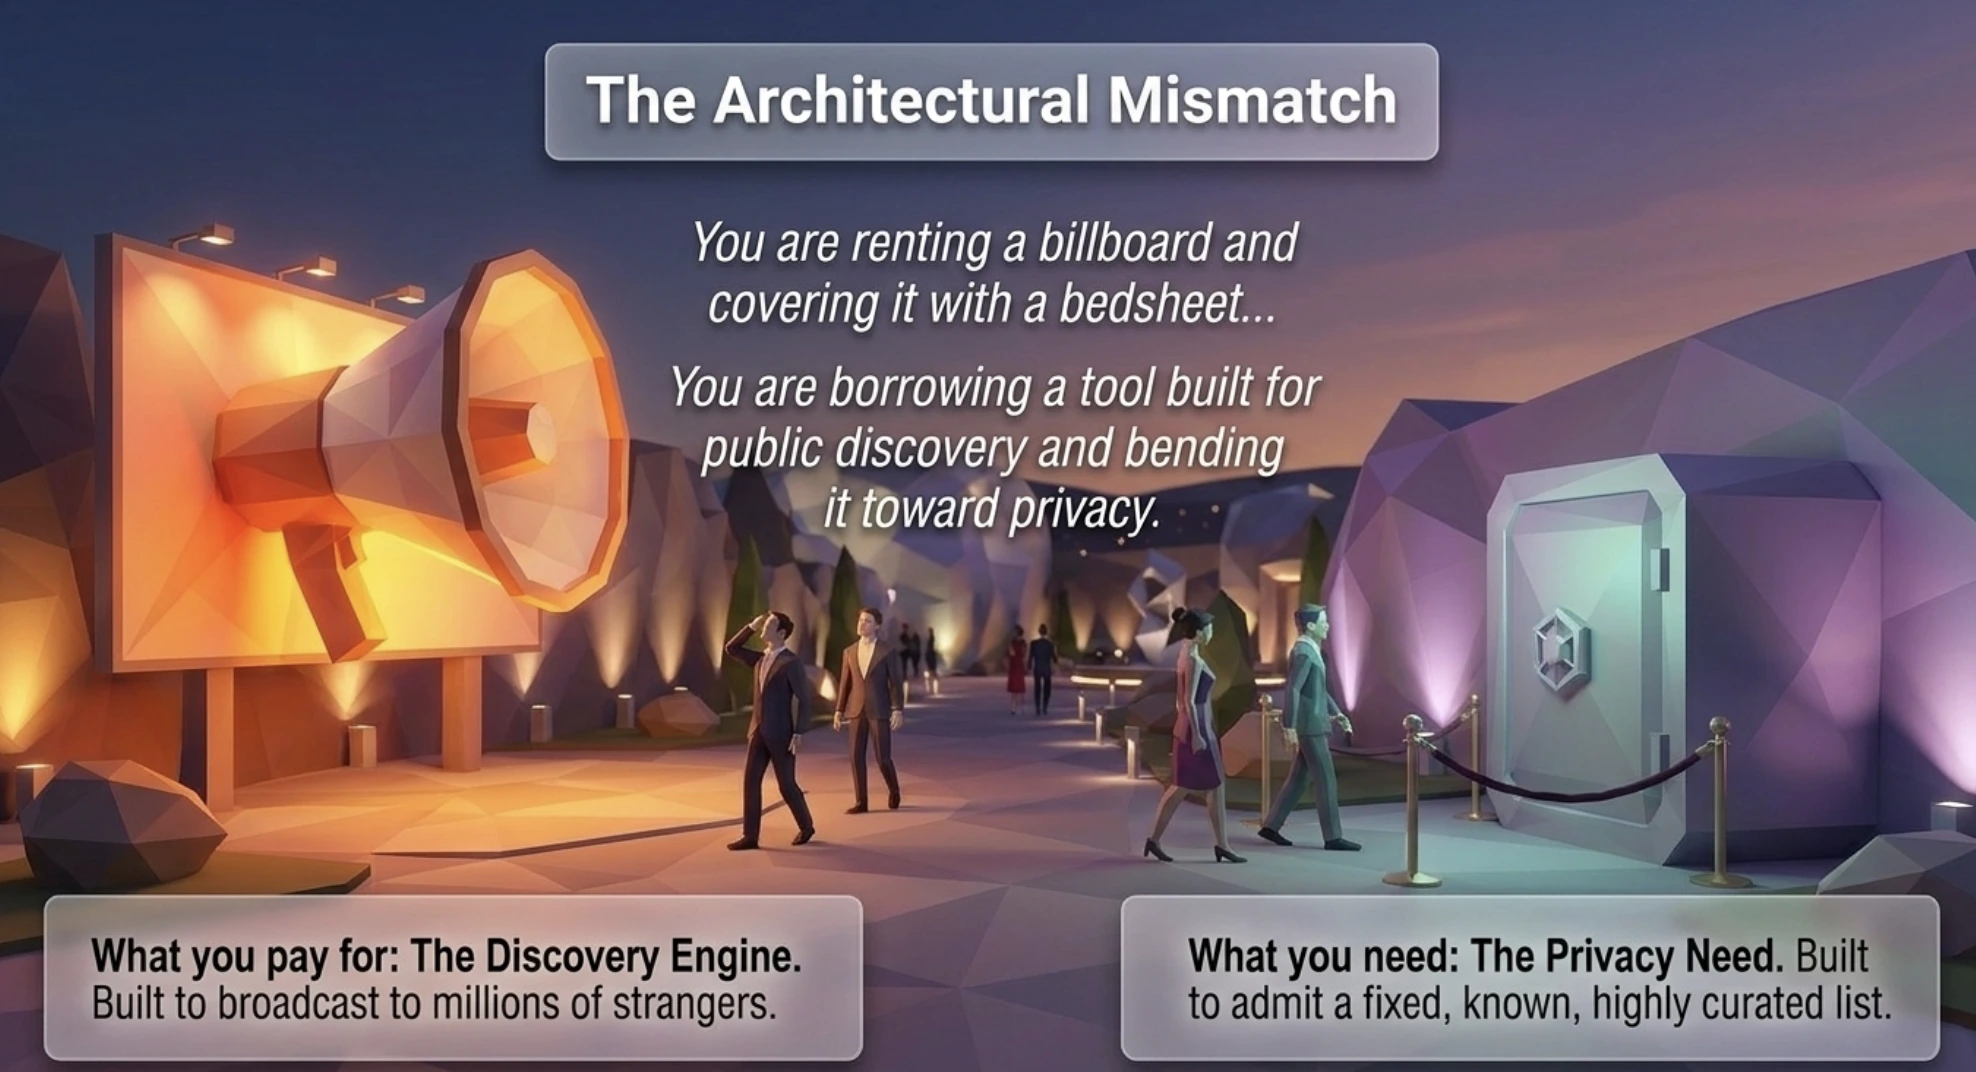
Every one of these gaps traces back to the same root cause: you are borrowing a tool built for public discovery and bending it toward privacy.
Set Up Event Ticketing and Distribution in Minutes!
First 10 tickets free | Free account | No credit card required
Is there a better, cheaper way to run an Invite-Only event?
Usually, yes. If your guest list already exists, a direct ticketing tool is typically tighter on access control and cheaper on paid tickets than a private marketplace listing, because you pay no commission and nothing sits on a public platform at all.
Think about what Eventbrite’s fees actually buy. Its genuine strength, and I say this as someone who recommends it for public events, is discovery: millions of people browsing for something to do. An invite-only event is the one format that gets zero value from that. You are not asking to be discovered. You are asking to be left alone.
So the psychology of the search itself is worth examining. Most of us look up the invite-only workaround because Eventbrite is the default in our heads, not because it won a comparison. Renting a billboard and then covering it with a bedsheet works, but nobody would call it the right tool. When the audience is known, the honest question shifts from “how do I hide this event page” to “why do I have an event page at all?”
Here is how the two approaches stack up for a private guest list:
What matters for invite-only/private events
Eventbrite
Ticket Generator (Direct Ticketing)
How guests get access
Shared link or password
Unique QR ticket sent to each named guest
Public exposure
Page lives on eventbrite.com, hidden from the directory
No public page exists at all
Uninvited guests
Anyone with the link can register
Every ticket is unique; duplicates are flagged at the gate
Fees on paid tickets
3.7% + $1.79 per ticket, plus 2.9% processing (US)
Zero commission; payments go to your own Stripe, Razorpay, or PayPal
Cost basis
Fees scale with every sale
Prepaid credits from $0.25 to $0.60 per ticket
Attendee data
Shared with the platform
Fully yours
Branding
Eventbrite page, checkout, and emails
Your design, your domain, no platform watermark
To be clear about where I would still use Eventbrite: a free community meetup where the Eventbrite frame does not bother you, since free events carry no service fee and a private link is fine. The calculus changes when the event is paid, brand-sensitive, or high-stakes, which is exactly the territory most Eventbrite alternatives compete in. It also helps to zoom out and compare event ticketing platforms on control, not just price.
Run the math on 100 paid tickets at $50. On Eventbrite’s US pricing, service fees alone come to roughly $364, before payment processing. On Ticket Generator, 100 ticket credits cost $50, and card processing goes through your own gateway at its standard rates. Different model, very different bill. And for a private event, a very different level of gate control.
Set Up Event Ticketing and Distribution in Minutes!
First 10 tickets free | Free account | No credit card required
How does Ticket Generator handle Invite-Only events?
Ticket Generator is built for organizers who already have their audience and want full control over who walks in. There is no marketplace, so there is nothing to opt out of. Private is the default state, not a setting.
Here is the exact flow I recommend for a true invite-only event:
Create your event in the Ticket Generator dashboard and choose Direct Ticketing, the launch mode built for a known guest list. No public registration page is created unless you want one.
Design the ticket. Use the drag-and-drop designer, start from a template, upload your own artwork, or generate a design with AI. Variable fields pull in each guest’s name and ticket ID, and there is no platform watermark anywhere on the design.
Add your guests and generate tickets. Every ticket carries its own unique QR code and Ticket ID, tied to one person. Screenshots and forwards do not create extra entries, because a code only validates once.
Send tickets directly by email in batches of up to 1,000 guests per send, or by SMS and WhatsApp. Schedule Send lets you time delivery for a chosen date, time, and time zone, and delivery tracking shows exactly what was sent, delivered, or bounced. Lost ticket? Resend it in a click.
Scan at the door with the free Ticket Validator app on iOS or Android, or the web validator. Every scan returns Valid, Invalid, Duplicate, or Expired instantly, multiple entrances can scan at the same time, and unauthorized attempts get flagged in your report. The app needs an internet connection, so confirm venue Wi-Fi or mobile data in advance.
Want a semi-private setup instead, where people request a spot? Publish a registration page but restrict event registrations with manual approval, so a human approves every registrant before any ticket goes out. A one-registration-per-person rule stops duplicate sign-ups on its own.
For paid invite-only events, payments go straight into your own Stripe, Razorpay, or PayPal account with zero commission. Pricing is credit-based: 1 credit equals 1 ticket, packs run from 10 credits for $6 up to 10,000 for $2,500, credits never expire, nonprofits get 30% off, and new accounts start with 10 free credits to test the whole flow.
This is not theoretical. The Heartland Emmy Awards, about as invite-driven as events get, have issued 3,433+ tickets across 10+ events on Ticket Generator over four consecutive years, with QR validation controlling access at the door.
Anshul Singh Bisht, our Head of Event Technology, hears the same story from switchers again and again: “Nine out of ten organizers we onboard mention counterfeit prevention as the first reason they’re switching; the cost and speed factors are added benefits. They’ve faced duplicate tickets at the gate, refund disputes, guests who claim they paid but aren’t on the list, and they don’t want to live that twice.”
Pro Tip: For recurring invite-only events like quarterly board sessions or member previews, clone last quarter's event in Ticket Generator and reuse your saved ticket design. Setup drops from an afternoon to a few minutes.
Conclusion
Making an event private on Eventbrite is genuinely easy: publish as private, choose link or password access, share carefully, and ideally do it before the listing ever goes public. For free, low-stakes gatherings, that is a perfectly serviceable setup, and I would not talk you out of it.
But privacy by link is really privacy by trust. The page cannot tell an invited guest from a forwarded one, the platform’s fees still apply to every paid ticket, and the whole experience wears someone else’s brand. When the guest list is fixed and the stakes are real, sending each guest a unique QR ticket directly is tighter, cleaner, and usually cheaper. That is precisely the job Ticket Generator was built for.
Try Ticket Generator to send unique QR tickets straight to your guest list, with zero commission and no public page. Your event. Your revenue. Your rules.
Set Up Event Ticketing and Distribution in Minutes!
First 10 tickets free | Free account | No credit card required
Ashish Chandra has spent 5+ years writing about event technology, covering topics such as ticket design, QR check-ins, attendee management, and event marketing strategy. As the Content Lead at Ticket Generator, Ashish has analyzed hundreds of real-world event workflows and ticketing setups, helping organizers across industries use QR-based tickets, event landing pages, and smarter ticketing systems to run smoother, better-attended events.
His writing is shaped by real user needs and the questions organizers ask most often: How do I sell more tickets? How do I avoid chaos at the door? How do I make my next event better than my last?
When he steps away from the screen, you'll likely find him hiking a quiet trail or tending his plants- his preferred way to reset.







.png)






.webp)

.svg)
.svg)