Say you are organizing an event. It can be a summer event, business event, prom party, or new year event. But organizing an event comes with a lot of challenges. From selecting a team to designing tickets, and then finally to promoting your event, the journey is not easy.
Once you start preparing for the event, one of the major tasks is to generate event tickets. And to save time, you want printable tickets with all the details you want to mention on it. You do not want to spend too much effort on finding a suitable ticket template and then adding details to it.
So you are looking for a tool that helps you create, design, and print tickets on your own.
Moving ahead, once you design tickets, you distribute tickets to the registered guests. But with tools such as Photoshop, it has now become easy to duplicate tickets. Besides, there are various tools online that create fake tickets. This gives way to unauthorized entries to your event.
Moreover, even if there is identity verification at the entrance, this is also not enough to validate entries. Identity cards can easily be duplicated or photocopied leading to breach in event security.
So another challenge you face is to create tickets that are hard to duplicate.
And to resolve these issues, you are looking for a tool that can make ready-to-print tickets that are both functional and branded.
In this article we will tell you how you can design and print your own tickets easily. Plus, also ensure authentic entries to your event.
Keep reading.
A. Conventional way to create an event ticket
Traditional methods of creating tickets consume a lot of your time and effort. Conventionally these are steps you follow to create your event ticket:
1. Select Design
The first step is how to select a suitable design for your ticket. For this, you use online software tools such as Adobe Spark, Photoshop, or Illustrator. Here you follow some rigorous steps to finally get the desired design for your ticket.
Plus, these software are expensive and are generally used by graphic designers/professionals.
2. Add details
Once you are done with designing, you go ahead to add relevant details. These include obvious information such as event description, time, and venue. Plus, you may also want to add other details such as hall number and event tagline.
3. Print tickets
Now that your tickets are ready, you go to your nearest printer. The printer then takes their time and prints the bulk of tickets for you.
Once they are printed, you hand out these tickets to your guests.
But the whole process is too taxing. For example, say you are organizing a sports event and you want to add variable information such as seat number on each ticket. Specifying them one by one will consume a lot of your time and effort.
And you do not want to create tickets the conventional way. In the next section, we will detail how to effortlessly create printable tickets that also help authorize entries.
B. Create print-ready tickets
You can create custom-designed and ready-to-print event tickets using professional event entry pass makers. In this article, we will use Ticket Generator for demo purposes.
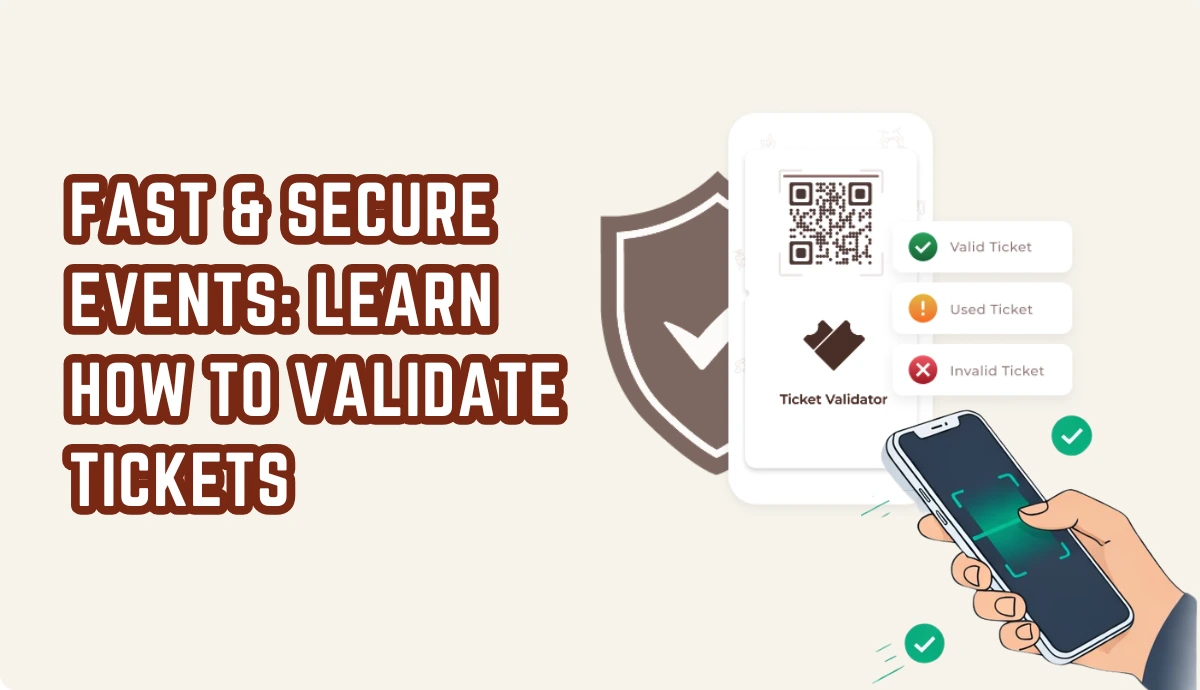
Note that every ticket you generate using this tool has a QR Code on it. These are one-time scannable tickets that help authorize event guests. Upon scanning the QR Code, one can know whether the ticket is valid, invalid, or duplicate.
Hence you can create printable tickets that are both branded and functional. Here are some steps that you need to follow:
1. Create an event
Go to Ticket Generator and create an account. Note that the first ten tickets you create are free. In order to create more than ten tickets, you will have to purchase credits.
Now, click on Create New Event option. Add event-related information such as event name, date, description, venue, and time. Once you're done, click on Create. Your event will be created.
2. Add a design to tickets
The next step is to design your ticket. Here, you can either go with the Upload Own Designoption or select a pre-designed template from a number of templates. Ticket Generator offers option to design the tickets from scratch as well.
i. Upload own design
This option allows you to design your ticket using your own ready-made design template.
With this option, you can superimpose the QR Code and unique ID on the ticket.
Moreover, it also allows you to add variable information (which would be different for each ticket) by clicking on the + button. It could be the guest's name, row number, seat number, etc.
Note that all these elements are movable and resizable.
ii. Edit design
This is Ticket Generator's standard design. You can use this option to design your ticket from the scratch.
Here, you can use the Ticket Generator's standard design to create tickets from the scratch. It gives you the option to add a logo, change the background color, or add a background image to your ticket.
The actual data of unique/variable information will be taken in the next step.
iIi. Choose from templates
If you don't want to design the entire ticket but you still want to give it a fancy look, this option is right for you. Simply click on Choose from templates option to access this feature.
Once clicked, you will see a number of pre designed templates to choose from. To select a template click on Select Template button right below the chosen template and that's it, your ticket, with all the information, will turn into a designer ticket.
3. Delivery method
Once you have finalized the design, you can specify how you want the tickets. That is, you can choose from four options Generate Form Link, Generate and Download, Generate and Email, and Generate via API.
Since, in this article, we are focusing on how to generate printable tickets, we will detail on the Generate and Download delivery method.
Generate and Download: By clicking this option, you can generate print-ready tickets.
If you want to mention variable information, you can upload a data file in the given option. For more information on this, you can refer to this detailed guide on variable information.
If everything looks fine, go ahead to Generate the tickets.
Your event tickets will be generated in PDF format. You can now print these tickets by using your home or office printer.
Here are the two important situations where Ticket Generator is helpful for you:
1. Generating tickets for the unplanned guests
Say you have created a whole batch of event tickets for your event and sent them to the planned guests. At the last moment, some unplanned guests have shown up at your event. And you want to give them the tickets.
And to do it, you'll have to create new tickets for them. But you don't need to engage in specifying all the event details to again create a whole new batch of tickets.
Here's how Ticket Generator can help you create additional tickets quickly and smoothly:
Say you are organizing a business event and have created the tickets for all the attendees. But at the last moment, some unplanned guests have walked down on your dance show. And they want tickets for it.
Now rather than generating a whole batch of tickets again, you can simply create additional tickets quickly. Here's how:
ii. From the dashboard, click on the event for which you want to create these tickets.
iii. Now, click on Guest Tickets tab.
iv. Here, click on New Ticket(s) drop-down and select the Single Ticket option select the delivery method Download Ticketand Send Ticket as per your choice.
Download Ticket: This option allows you to generate and download the ticket.
Send Ticket: This option helps you send the ticket to the guest via email ID or phone number.
vi. Once selected, click Generate & Download (in case of Download Ticket) or click Generate & Send(in case of Send Ticket)
That's it. A new single ticket will be generated.
2. Resending the tickets
Say you've sent the event tickets to your guests via email ID and phone number. But somehow, they didn't receive them. Here, Ticket Generator has got you covered. It helps you resend tickets to them quickly. Here's how:
2. From the dashboard, click on the event for which you want to resend the tickets.
3. Now, click on Guest Tickets tab.
4. Click on Resend Ticket.
5. Now, you'll have to specify your preferred mode of searching for the guest's ticket. You can use the ticket ID to do it. Alternatively, you can also use the guest's email address or phone number which you entered while creating the tickets
6. Once you've entered these details, click Search. Now, you will see the ticket details
7. Click on View and you'll be asked to specify the guest's email ID or phone number. After submitting these details, click Resend
Note that you'll not be charged extra for resending the tickets.
You now know how to create printable tickets. Let's now see how to validate them.
D. Validate tickets and authenticate entries
As an event organizer, your end goal is that guests feel comfortable and enjoy your event. In other words, your event is safe and secure. And for this, you adopt various measures for event security management.
The foremost thing is to permit only valid entries to your event. And you can easily assure this with the QR Code based tickets you generated. The QR Code on each ticket has a unique ID or a serial code.
To do it, you'll first have to add coordinators for the event within the Ticket Generator. Once you do it, they'll be authorized to validate the tickets. Here's how to do it:
1. From the dashboard, go to the Manage Event section
2. Select the required event and click on three horizontal dots under the More option
3. Now click on Add/Edit Coordinator
On selecting this option, you can specify the email addresses of the coordinators. Each of them will then receive an email invite and a password.
4. Next, they'll have to install the app on their smartphones via Google Play Store or App Store and login
5. Now, they need to select the event they need to validate tickets for. They can then click on Scan QR Code and get started with validating the tickets by scanning the unique QR Code on each ticket
Doing this will tell them if it's a valid, duplicate, or invalid ticket.
E. Event Analytics
Furthermore, you can also see how well your event performed by tracking attendance. You can also get analytical data such as the percentage of people who attended the event and tickets validated per coordinator. Besides, you can track attendance at different time periods (days, hours) of the event.
The data will prove useful to give you important insights into your event performance. And lead you to make better decisions in your upcoming events.
To know more about how to track attendance of your event, refer to this detailed guide.
This way you can tackle unauthorized entries to your event. And easily secure entry.
Now you know how to create printable tickets. But before you actually go ahead to print your tickets, know some of the best practices of printing tickets.
F. Ticket generation best practices
Here are some practices that you should follow to generate your tickets flawlessly. These entail both printing and designing.
a. Printing
1. Proofread your document before printing. In your case, check the details on the tickets before actually generating them. Plus always print preview documents on the computer before printing them. This will ensure that the document looks exactly the way you expected.
2. Set your print defaults to low or draft resolution and duplex. This will encourage optimum use of print resources.
3. If you have to print in bulk, zip all larger documents or groups of documents. This practice will reduce network traffic.
Follow these best practices for a sustainable use of print resources.
b. Designing
1. Provide all the details of your event on the ticket. That is from minute details such as seat number to additional details such as event tagline, mention it all.
This will not leave your guest confused or doubtful about any detail.
2. While designing your ticket, choose a background color that aligns with your company's or brand's color. Amongst all the colors, blue is a universal favourite of designers. It is not only soothing to the eye, but also the most visible to color blind people.
Hence, keep these points in mind while you add design to your event ticket.
So now you know how you can generate printable tickets easily. You no longer need to worry about the printing costs, as you can print the tickets on your home printer itself. Plus, these tickets also help in securing entry to your event.
So, this way, easily create tickets that are branded, functional, and print-ready for your event.
Yashika Tangri is an amazing marketing manager who operates from Trycon Technology's Noida office. Her name signifies success and fame, and she has certainly lived up to these expectations.
At work, Yashika is a highly efficient digital marketing organizer and a source of inspiration to her colleagues with her positive demeanor and professional work ethics. Despite being a lifelong student of science, Yashika decided to pursue a career in marketing in 2018.
After work hours, Yashika enjoys creating new playlists on Spotify, and she is an avid reader who finds solace in escaping reality through the pages of mythology books


.png)